


5 Steps to Take When Your Water Heater Leaks From the Bottom

Quick Summary
If your water heater leaking from the bottom, first shut off the cold-water supply and the power or gas. Then find the leak source: a drain valve or relief valve can be repaired, but a leaking tank must be replaced.
Turn off the cold-water supply valve first, then cut power or gas to the unit.
Use a dry paper towel or tissue on each fitting to pinpoint the leak source.
Close a leaking drain valve by hand; never use a pipe wrench on it.
Never cap or plug a T&P relief valve discharge pipe to stop a drip.
A leaking tank shell cannot be repaired and requires replacement.
Is your water heater leaking from the bottom?
Water Heaters Plus! offers same-day inspections and transparent installation pricing across Central Ohio.
Table of Contents
Why a Water Heater Leaking From the Bottom Is Dangerous
Last Updated: November 8, 2026
If your water heater is leaking from the bottom, act now. Water pooling at the base can damage floors and drywall and can point to a failing tank.
A leak at the bottom differs from a drip at the top.
Here is why it matters:
Electrical risk: Water and electric heating elements do not mix; standing water near the unit can create a shock hazard.
Gas risk: A leak near a gas burner can affect the pilot light and combustion.
Water damage: Flooring, baseboards, and stored items soak up water quickly, and mold can follow within days.
Watch out: Do not wait to see if the puddle grows. Even a small leak can become a large one within hours if the tank is failing.
Step 1: Shut Off the Water Supply and Power or Gas
Turn off the cold-water supply first. The shutoff valve is usually on the cold-water pipe entering the top of the heater. Turn it clockwise until it stops.

Shutting off the water stops new water from entering the tank. Cutting power or gas stops the heating element or burner. Doing both in this order keeps the tank from overheating or running dry.
Gas Water Heaters: Turning Off the Gas Safely
Find the gas control valve on the front of the unit and turn the dial or valve to "Off." On some models, press the knob slightly before turning it. If you smell gas, leave the home right away and call your gas utility or 911 from outside.
Do not light a match or use a switch near a gas smell. Once the gas is off, you can work on the leak.
Electric Water Heaters: Cutting Power at the Breaker
Go to your electrical panel and switch the breaker labeled for the water heater to "Off." Make sure you turn off the correct breaker; if unsure, shut off the main breaker.
Never touch the heater or the standing water with wet hands while the power is on. If the breaker trips again when you restore power, call a licensed plumber or electrician.
Step 2: Find the Leak Source
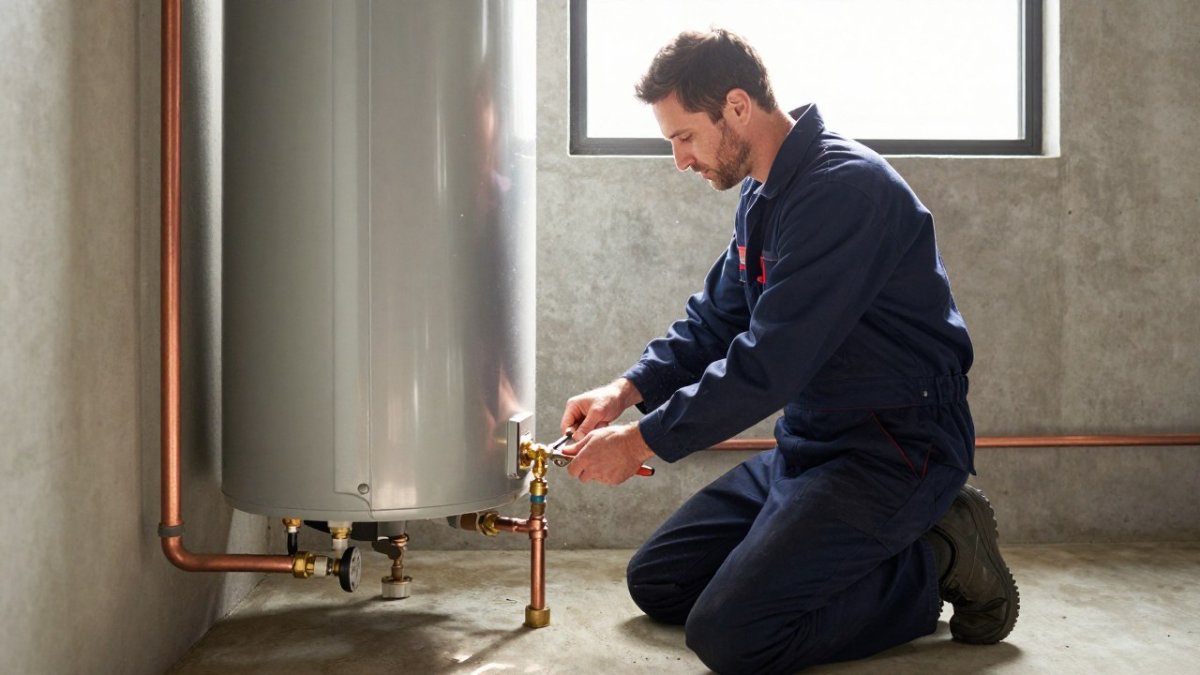
With the water and power or gas off, trace the water to its origin before deciding whether this is a repair or a replacement. Work from the outside of the unit inward: fittings and valves first, tank body and seams last. A leak that appears at the base almost always started somewhere above it and ran down.
A Simple Leak-Source Decision Path
Use this sequence to narrow the source in about ten minutes:
Dry and isolate. Towel-dry the base, floor, and every reachable fitting. Lay a dry paper towel or newspaper under the tank and another under the drain valve and T&P discharge pipe.
Watch the first drip. Check every 5-10 minutes; where the paper darkens first tells you which zone is leaking.
Wipe each fitting with a dry tissue. Run it around the cold inlet, hot outlet, drain valve, T&P valve, and element access plates. A damp tissue pinpoints a fitting leak; a dry one rules it out.
Look up, not just down. Water on the floor can come from a loose union at the top, a failed T&P valve, or a condensate line on a high-efficiency unit. Trace the wet path upward with your hand and a flashlight.
Check the tank body and seams last. If every valve and fitting is dry and water still appears at the base, the tank itself is the source.
A common pattern is a slow drain-valve drip that runs along the tank jacket and pools at the bottom, making a repairable valve look like a failed tank. The tissue test is the fastest way to tell them apart.
Drain Valve Leaks
The drain valve is the small spigot near the bottom of the tank, used for flushing. It leaks when the washer behind the handle wears out, mineral scale keeps the valve from seating, or the valve was left partly open after a flush.
First try: close it firmly by hand, never with a pipe wrench or cheater bar, which can crack the valve body or twist the tank fitting.
If it still drips: the washer or whole valve usually needs replacing. A pro can swap a drain valve, but it requires draining the tank and breaking the connection, so it is not a dry-hand job for most homeowners.
Watch out: do not overtighten a plastic drain valve to stop a drip; the body can split and turn a slow leak into a full-flow drain.
Temperature-and-Pressure Relief Valve Leaks
The T&P valve is a safety device on the side or top of the tank, with a discharge pipe running down toward the floor. It opens to release excess pressure or temperature. A few drops during a heating cycle can be normal; a steady stream is not.
Continuous flow from the discharge pipe points to excess pressure, a failed valve, or a thermal expansion problem, often a closed system with no expansion tank. Treat it as urgent and call a licensed plumber.
Intermittent drips can come from a weak valve spring or sediment on the seat. The valve is inexpensive, but the cause behind it matters more than the part.
Watch out: never cap, plug, or block a T&P discharge pipe to stop the drip. That defeats a safety device designed to prevent tank rupture.
Tank Corrosion, Seams, and Sediment
If the valves and fittings are dry and water still appears at the base, the tank is the likely source. Internal corrosion eats through the steel from the inside, and sediment at the bottom traps heat against the metal, accelerating failure. Pinholes often show up at the seams or under the sediment line.
Glass-lined tanks resist corrosion until the lining cracks or is depleted, usually after years of service. Once the steel is exposed, pinholes follow.
A leaking tank cannot be repaired. Patches and sealants fail under heat and pressure, and a tank weeping from the shell will only get worse.
Watch out: do not assume a bottom leak is a tank failure before ruling out the drain valve and T&P valve with the tissue test. Many 'failed tanks' are actually repairable valve leaks.
System-Specific Checks
Gas tank units: look for water at the burner compartment or flue base, which can mean a tank leak above the burner or a condensate issue on a high-efficiency model. Do not relight the pilot until the area is dry and the source is found.
Electric tank units: check the element access plates. A damp plate or rust trail points to a failed element gasket, a straightforward repair. Water inside the element cavity with the power on is a shock hazard, so keep the breaker off until it is dry and inspected.
Tankless units: the bottom leak is almost always at the water connections, the condensate trap, or the heat exchanger. Tighten fittings by hand only; a cracked heat exchanger means replacement, not repair.
When to Stop Diagnosing and Escalate
Stop and call for help immediately if any of these are true:
You smell gas, or the burner area is wet on a gas unit.
Water is within a few feet of the electrical panel, outlets, or the heater's wiring.
The leak is a steady stream rather than a drip.
For gas smells, leave the home and call your gas utility or 911 from outside. For electrical exposure, do not step into standing water, shut off the main breaker only if you can reach it without touching water, then call a licensed plumber or electrician.
Use these checks to narrow down where the water is coming from before deciding between a repair and a replacement.
Leak source | Typical sign | Action |
Drain valve | Drip at the spigot near the bottom | Close by hand; replace washer or valve if still dripping |
T&P relief valve | Drips or stream from discharge pipe | Drips may be normal; steady flow needs a plumber |
Element access plate | Damp plate or rust trail (electric) | Usually a worn gasket, a straightforward repair |
Tank body or seams | Water at base with dry fittings | Cannot be repaired; replacement needed |
What to Do With an Electric Water Heater Leaking From the Bottom
Electric water heaters have heating elements inside the tank. Water near these elements and their wiring is a shock risk, so the power must stay off until the unit is checked.
Here is what to do:
Keep the breaker off and the water shut off.
Do not step into standing water to reach the unit.
Check the drain valve first and tighten it gently by hand.
On electric units, a leak from the element access plate can mean a worn gasket, a simple job for a pro. A leaking tank, however, means replacement.
Tankless Water Heater Leaking From the Bottom: What to Do
Tankless units do not store water, so a leak at the bottom usually comes from the water connections or the heat exchanger.
Shut off the water supply and the gas or electric power as you would for a tank unit. Look for loose fittings, worn washers, or a cracked heat exchanger.
Many homeowners in smaller homes ask whether a tankless unit fits their space.
Repair or Replace: Understanding Water Heater Replacement Cost
The leak source you found in Step 2 usually decides the answer. Valve, fitting, and gasket leaks are repair candidates. A leaking tank shell is a replacement, full stop. The harder calls are the in-between cases: an old unit with a repairable leak, or a repair bill that is a large share of a new unit's cost.
Repair vs. Replace: A Practical Decision Guide
Use these criteria together rather than any single one:
Leak location. Drain valve, T&P valve, element gasket, or fitting = repair. Tank shell, seam, or base = replace.
Age. Tank-style units have a limited service life, and tankless units often last longer. A repairable leak on a unit near or past that range usually signals replacement rather than patching.
Warranty status. Check the data plate for the model and serial number, then the manufacturer's warranty terms. A tank leak inside the tank warranty period may qualify for a prorated replacement; labor is often not covered. Keep your purchase receipt and installation date.
What Drives the Cost
Installed cost depends on more than the tank price. The main variables are:
Fuel type and size. Gas and electric tank units, tankless units, and high-efficiency condensing models sit at different price points.
Venting and location. A direct-vent or power-vent replacement can require new venting; a unit in a tight closet or attic adds labor.
Code upgrades. Expansion tanks, drip pans, seismic strapping, and updated gas connectors are commonly required at replacement and add to the total.
Because these variables swing widely by home and by market, ask for a written, itemized quote rather than a single lump number. A quote should separate the unit, labor, permit, and any code items so you can compare offers fairly.
Warranty and Timing Considerations
Tank warranty vs. parts warranty. Tank-style units typically carry a longer tank warranty and a shorter parts warranty; labor is usually separate. Read both.
Registration. Many manufacturers require product registration within a set window after installation to preserve the full warranty. Register the unit when it is installed.
Replacement timeline. A failing tank can go from a drip to a full leak in hours to days. If you choose replacement, schedule it promptly and keep the water and power or gas off in the meantime.
What to Have Ready Before You Call
The unit's model and serial number (on the data plate).
The installation date and any receipt or warranty paperwork.
A photo of the leak and the surrounding area.
With those details, a licensed plumber can give you a realistic repair-or-replace recommendation and a written quote instead of a guess. If the tank is leaking, plan on replacement; if a valve or gasket is the source, a repair is usually the lower-cost path.
Book Your Same-Day Water Heater Inspection in Central Ohio
If your water heater is leaking from the bottom, do not wait. Water Heaters Plus! is a family-operated, veteran-owned plumbing company serving Central Ohio. Our licensed and insured technicians can inspect the leak and explain your options.
A leaking water heater is a problem that gets worse fast. Get A Quote today and have a professional look at your unit before the damage spreads.
Frequently Asked Questions
Is a water heater leaking from the bottom dangerous?
Yes, it can be. Water leaking from the base can damage flooring, drywall, and nearby electrical components, and a leak around a gas or electric unit can create shock or fire risk. Shut off the water supply and the power or gas first, keep people and pets away from the puddle, and call a licensed plumber the same day if you cannot confirm the source. Water pooling near electrical outlets or a gas burner should be treated as an emergency.
Can I still use water if my water heater is leaking?
It is best not to. Once the water supply to the tank is shut off, the water heater will not supply hot water, and cold water still flows to the rest of the house through the main line. If the leak is from the tank itself, keep the supply off until a plumber inspects it, because continued use can increase flooding. Restore the cold-water supply only after the leak has been identified and stopped.
Does a water heater leaking from the bottom need to be replaced?
Not always. A leak from a drain valve or a worn washer is often repairable for a modest cost. A leak from the tank body usually means internal corrosion has failed the steel, and that tank cannot be patched reliably, so replacement is the safer choice. A licensed plumber can tell the difference during an inspection and give you a written quote for either option.
Should I turn off the power to an electric water heater that is leaking?
Yes. Switch off the double-pole breaker that feeds the water heater before touching the unit or standing in water. Confirm the power is off, then shut the cold-water inlet valve. Do not restore power until a licensed electrician or plumber has checked for damaged heating elements or wiring.
Comments